With Our Best - Denver Lifestyle Blog

A Denver, Colorado blogger and flight attendant writing about travel, product reviews, food, recipes and life!

  • Home
  • About
  • Contact
  • PR/Media
    • Media Kit & Networks
    • Product Review/Giveaways
    • Disclosure
    • Advertising
    • Winners Policy
  • Style
  • Travel
  • Tech
  • Pets
  • My Life
  • In the Kitchen
  • Product Reviews
  • Healthy Living
You are here: Home / Everything else / Bathroom Renovation: Delta UPstile Shower Install {My Dad’s Point of View}

Bathroom Renovation: Delta UPstile Shower Install {My Dad’s Point of View}

by Karissa 9 Comments

 
This was fun! I’ve had this blog for over 9 years — and this is the first time my dad joined forces with me! He happily reviewed the Delta UPstile Shower Surround and Showerhead. It was shipped to him and he did all the handy work (it’s easier that you might think!) Just read to find out his experience with Delta Faucet’s shower install!
 

Author: My Dad

Delta Shower Surround Review

 
We were in the process of renovating a rental property, and were deciding what to do with one of the bathrooms. It needed some love. The bathtub had chips and scratches, a real mess. The tub surround was unsalvageable. Fortunately, our daughter, Karissa called and mentioned she had an opportunity to receive a Shower Surround from Delta.
 
We thought it would be fun to collaborate and we agreed to review the UPstile Wall System. The Delta UPstile is a fully customizable shower surround from Delta Faucet. Tools required: level, drill, tape measure, You also need screws(1 1/4” construction), and caulk (I used Dap 3.0).

 
First, some modifications to the existing shower site were required. There was a window placed in the center of the back wall that needed to go. ( I did not want to cut an opening in the new back panel to accommodate this window). Solution: Take out the window, wall off to the top of the panel, and install a row of glass blocks. Perfect.
 
Further preparations were required for the shower floor. Moving the drain position to match the new right sided pan. Also making sure the floor was level and solid. I put down a mortared cement board and screwed it in. Once the floor was level, the placement of the shower pan was a snap. (However, the plumber had placed the drain a bit off. No problem, because the Delta shower pan just sits on the floor and was easily removed). The shower pan is awesome, solid with a bottom that grips the floor.
 
This is the Delta Shower Base we got: The classic 400 32 in. x 60 in. Single Threshold Right Drain Shower Base in High Gloss White.
 

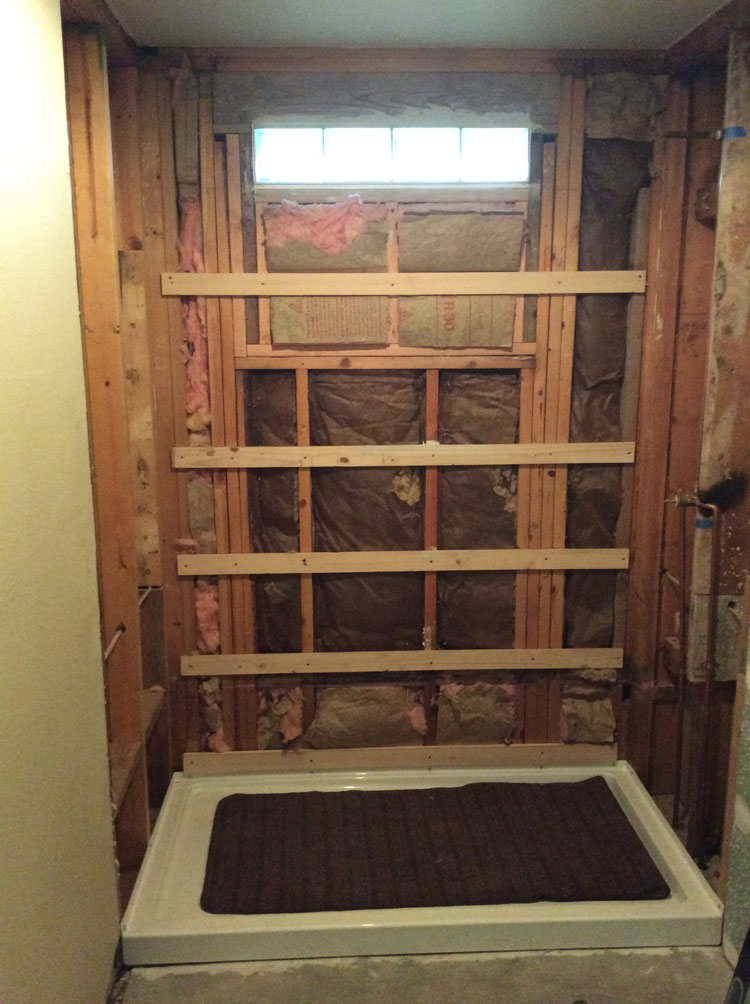
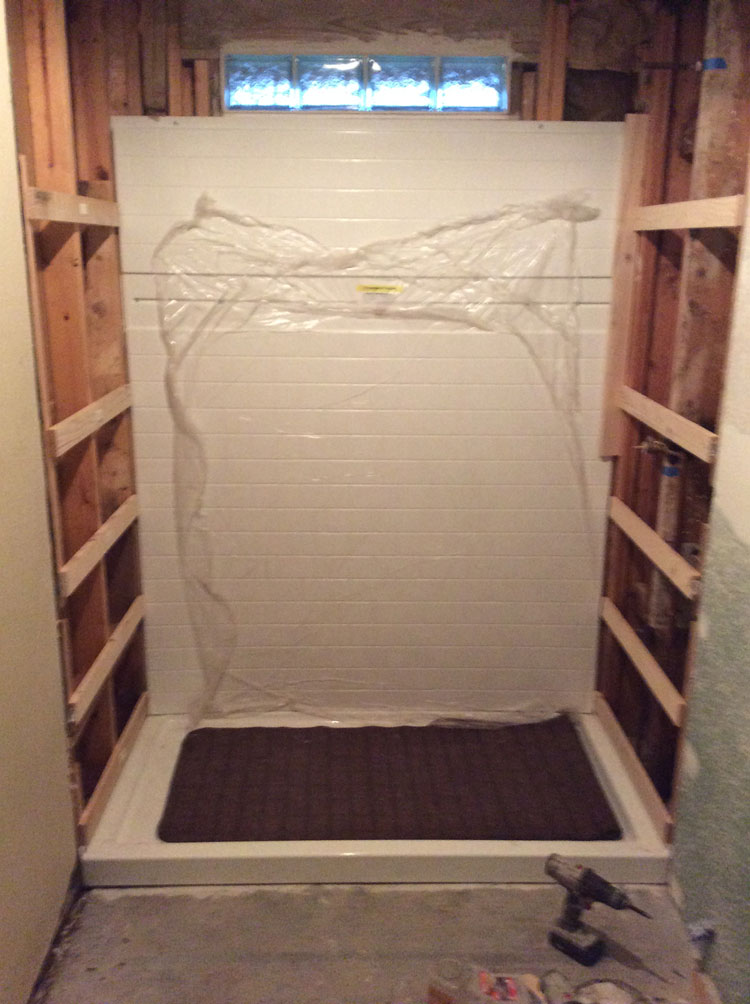
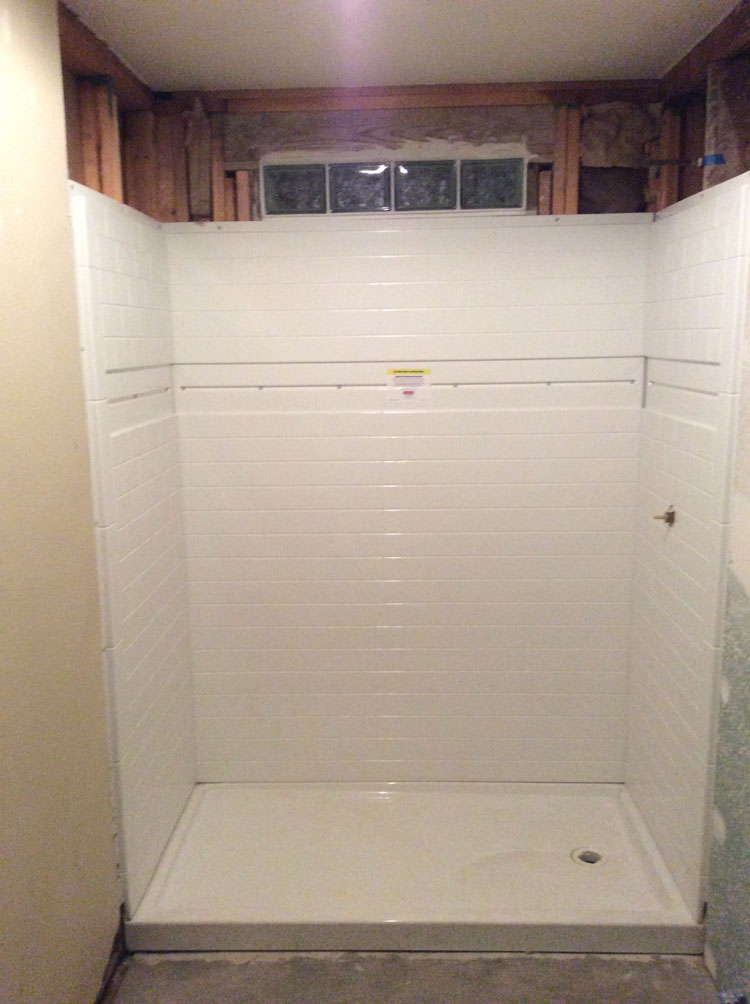
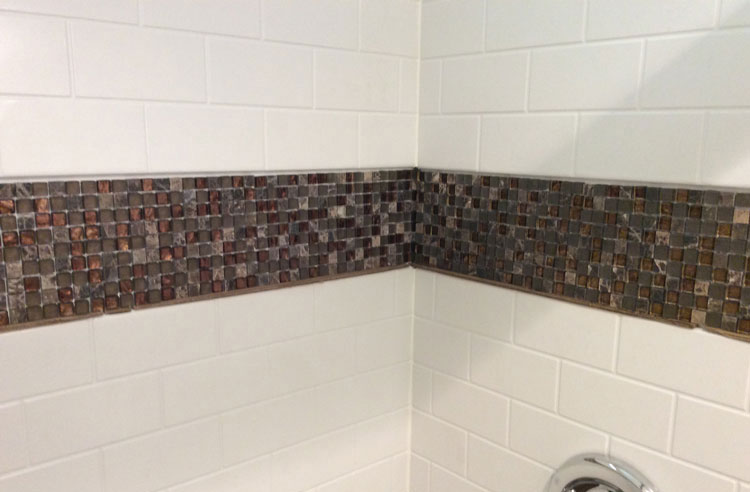
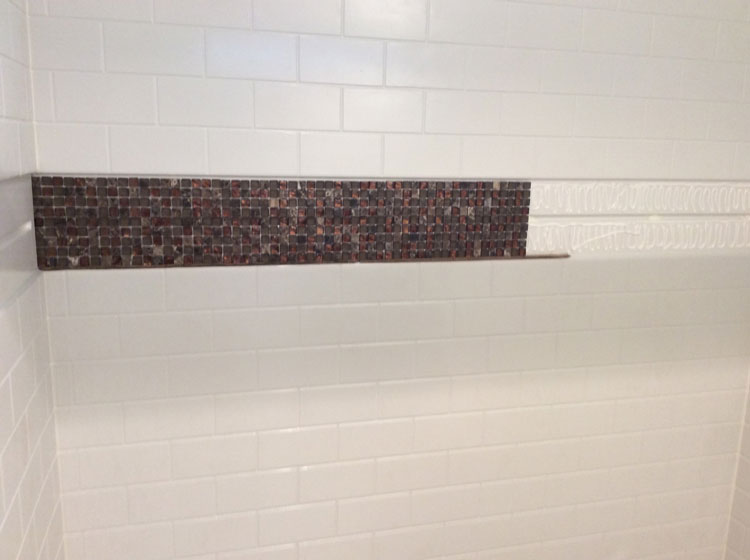
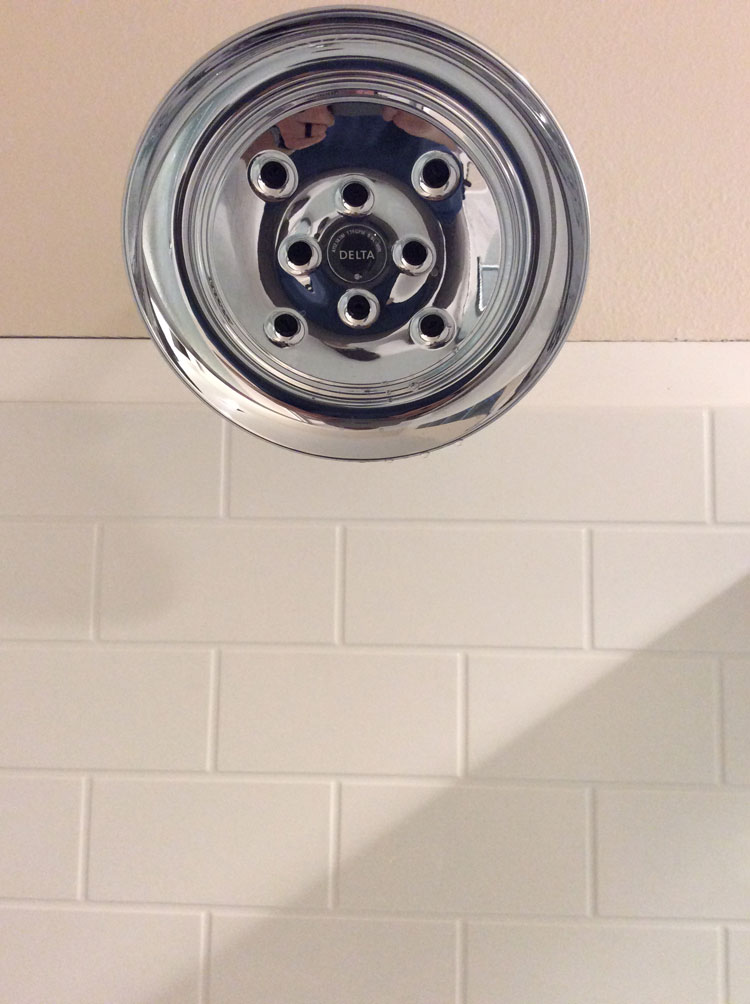
Next step was preparing the walls for the panels. The instructions were simple and clear, even for an old fart like me. After screwing on the furring boards, caulking across the boards, the panels were put in place. Using the level to insure every panel matched up. Drill some holes through the panels at the recessed slot , screw into the studs and the panels were set. The panel where the shower valve was located needed a hole. No problem. The panels can easily be drilled. I caulked the seams wherever the panels met and the shower was looking great.

This is the DELTA Shower Surround we got: UPstile 32 in. x 60 in. x 74 in. 3-Piece Direct-to-Stud Alcove Shower Surround in White.


Some of the Delta shower panels have a tile insert slot. Awesome. We loved the look of the tile on the shower panels, so we opted for the wall paneling with tile slot. The tile was easily caulked into place and after waiting for it to dry, I grouted it. Wow!
 

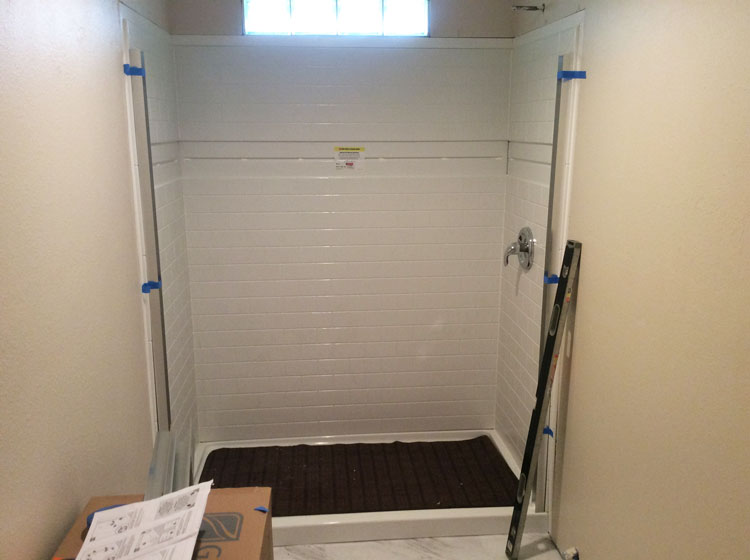
Installing the glass doors was straightforward. The focus was making sure the metal brackets were level. The glass doors were incredible, installing the door rods capped it off.  One note, I would suggest the door handles have plastic washers included to keep the handles tight the the door instead of using caulk to keep it snug.

This is the Delta Shower Doors we bought: 60 in. Sliding Bathtub Door Glass Panels in Rain (1-Pair)
 
This is the Delta Shower Rods we bought: Simplicity 20 in. Handle with Knobs for Sliding Shower or Bathtub Door in Chrome
 
The last item on the agenda was the Delta shower head. Karissa had a perfect shower head sent from Delta. The Monitor® 17 Series H2Okinetic® Shower Trim Cassidy™ was the finishing touch to the bathroom and shower renovation. 
 
 
Anybody can install this Shower Surround from Delta. While the caulking can be a bit messy, overall, the finished product is awesome. I was most impressed with the quality of the product; a solid shower pan, panels that fit snugly to each other, the tile slot and the glass doors.
 
This installation was made easy due to the concise instructions. I stretched the install over several weeks because of other projects, but a fully focused installation should take 2-3 days.
 
I would like to thank my daughter, Karissa, and Delta for producing this outstanding Shower Surround. I highly recommend. It is AWESOME.

Filed Under: Everything else

About Me

Closet Items

Shop more of my closet on Poshmark

Get the Latest Updates!

With Our Best

Facebook Like/Fan Us!

Recent Pins

Follow Me on Pinterest
Followed by 5664 people.
?

Pinterest Badge by Skipser

Cropped Jackets

Copyright © 2023 · WithOurBest Genesis Child Theme on Genesis Framework · WordPress · Log in