This post was created in part thanks to Decoraport, all words and suggestions are my own.
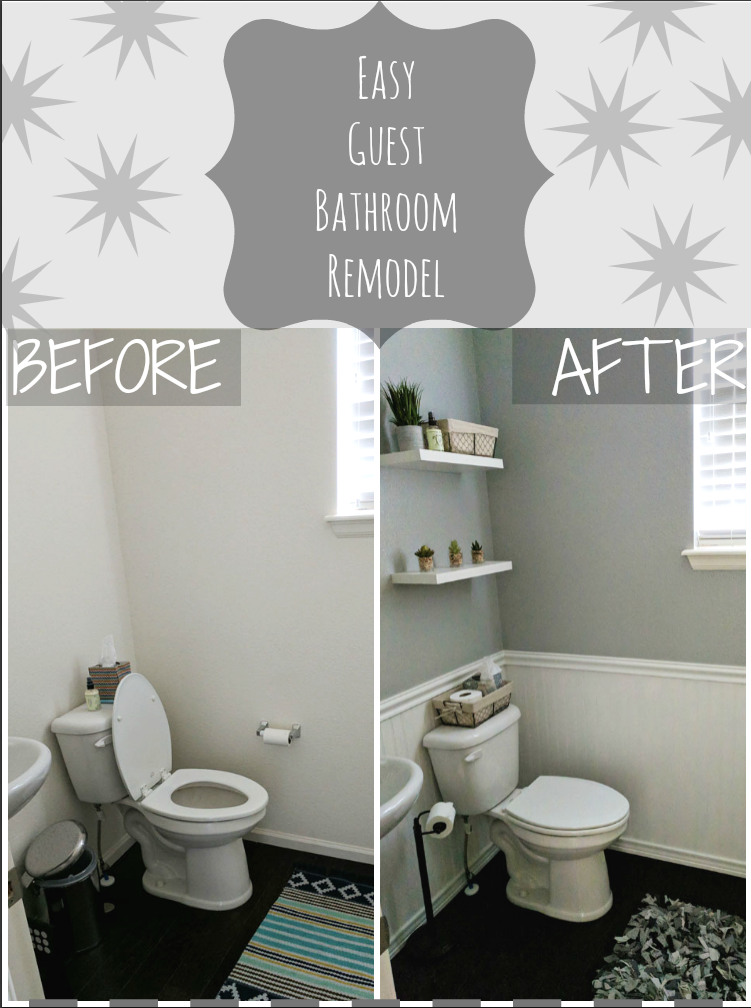 I am one of those lucky ladies to be married to a motivated, hard working, handy husband! He always seems to be doing some sort of project around the house. From adding shelves, to organizing the garage, he is dedicated to making our house feel like home! Lately, he has been working on our home office and while he’s been focused on that, I decided to fix up our guest bathroom. So this is my Simple DIY Bathroom Remodel! Full disclosure, I did have help from him, but honestly this is something anyone could do!
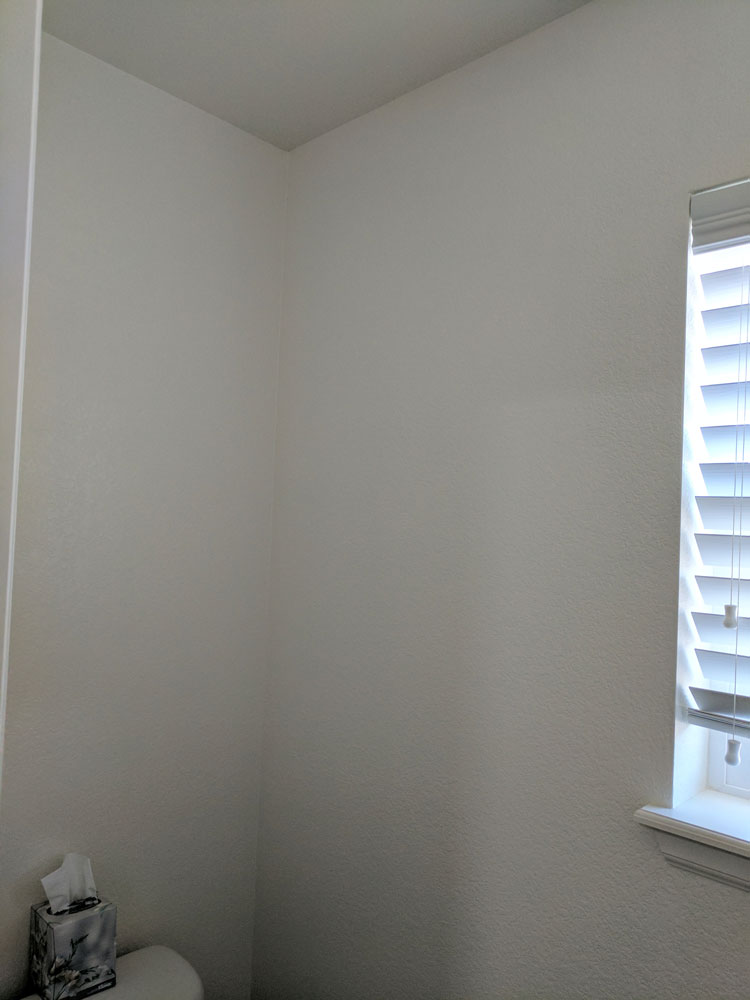
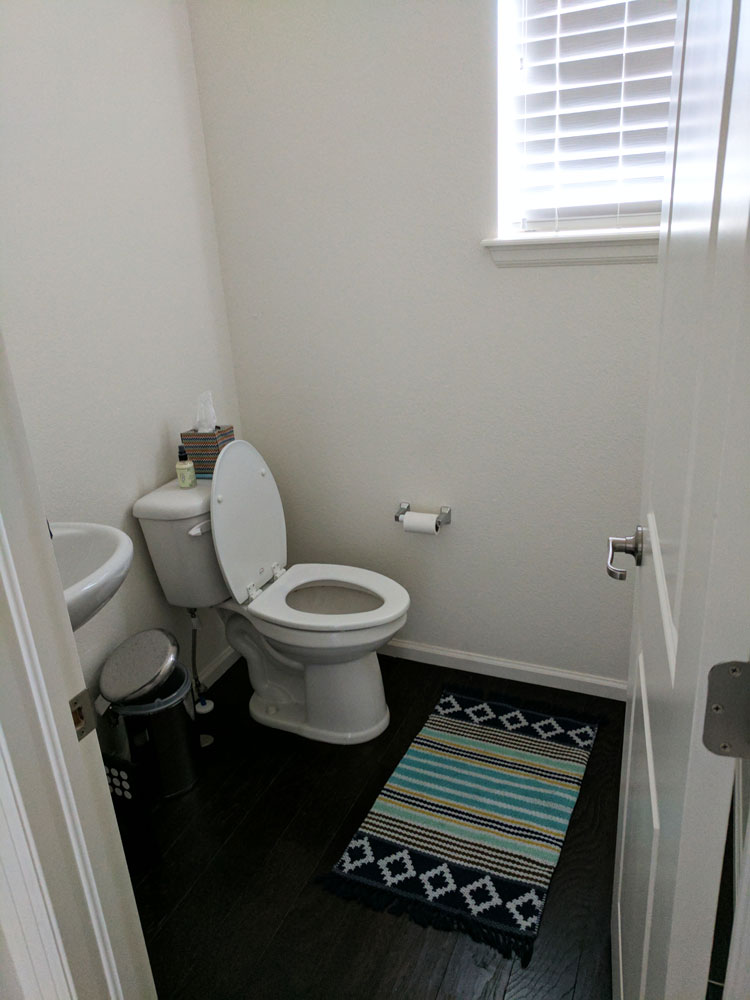
Our main bathroom was as boring as could be. We didn’t have paint. We had a dingy rug. No art on the wall. Pretty bare bones with just a pedal-stool sink and toilet. It was as basic as bathrooms come. Which is a great starting place when you are planning to fix the bathroom up!
Not knowing where to start, I started where most home projects start – Pinterest! I searched bathrooms on Pinterest to get an idea of what I wanted my new bathroom to look like. I pinned images of bathrooms with chair rail, how to install chair rail, cheap bathroom remodels, and do it yourself bathroom guides. I got so excited about the project and got right to it!
Without delay, I made and list and headed straight to the hardware store of course! First on the agenda? Paint! I picked out a few grey shades until I found the right color for the room. It was recommended I use a gloss paint in the bathroom because bathrooms can be moist. However, without a shower or bath in this 1/2 bathroom, I am not sure it was totally necessary. None-the-less, painting went pretty fast, however painting around a toilet can sure be a pain!
Speaking of toilets, I think the next project in the bathroom will be replacing our standard toilet with a one piece toilet. What an upgrade! They are stunning and make the bathroom look so finished, don’t they? I would love a dual flush one piece toilet to complete the room!
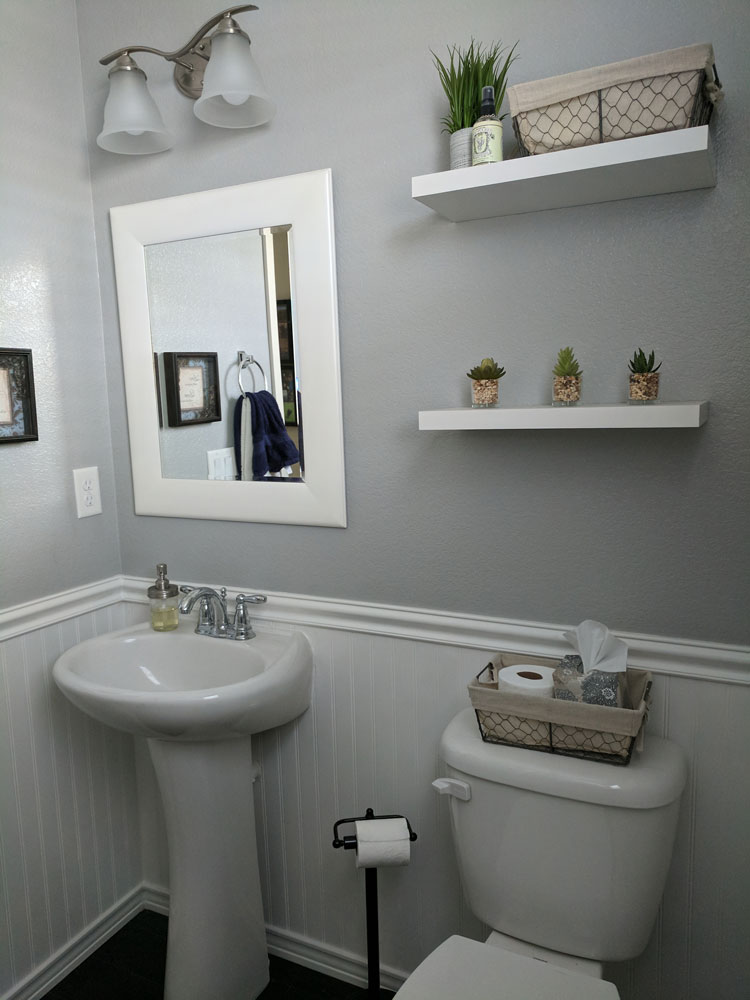
Okay back on track. Once the paint was on (and touched up multiple times!) we added bead board to the bottom half of the wall. We found the easiest way to do this was to buy the board in sheets and cut it to the dimensions of our walls. We replaced the baseboard with a nicer baseboard and then added a rail at the top to give the bead board a finished look. We filled in the nail holes and coated it with a layer of white paint – and just like that we were finished with our walls!
With just those two items done, our bathroom was really coming together. Now we just needed some final touches.
We headed out again, this time to the home decor store and a few thrift stores too. I bought some baskets to hide the extra toilet paper, some succulent plants, a new mirror, floating shelves and a pretty metal bird decoration. I was able to get a bunch of this stuff from the thrift store to keep our bathroom remodel budget lower (I want to have some left over cash for that one piece toilet!). We did splurge on a new rug, because well, we saw it and had to have it. We are a little undecided whether or not a rug is weird in a bathroom, but hey it does make it look more inviting. Thoughts?
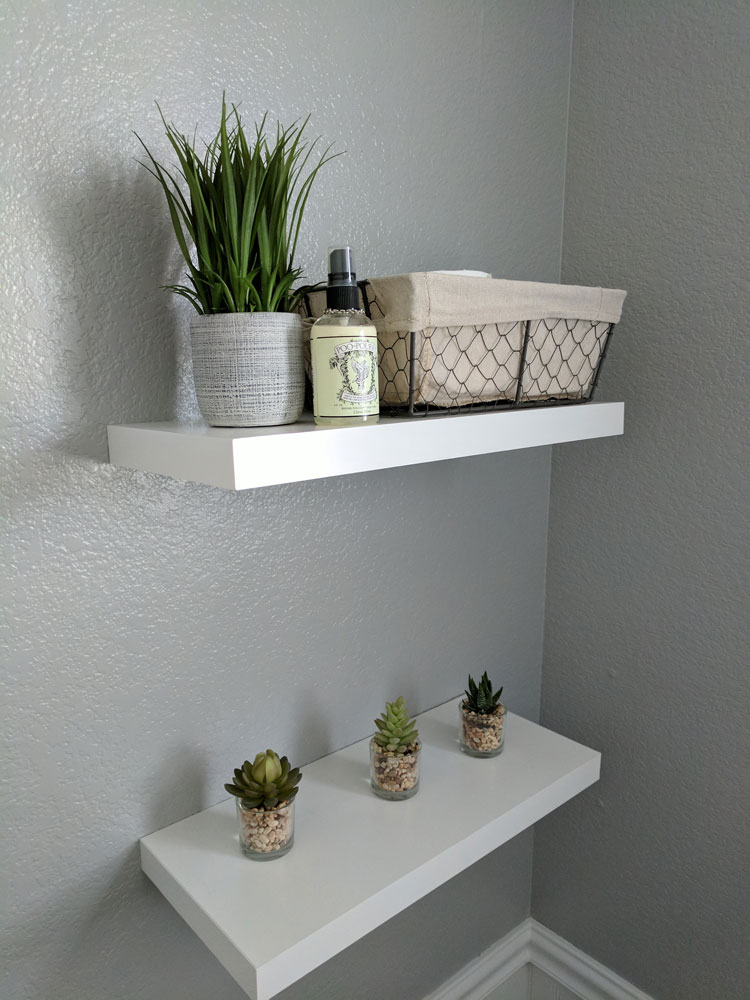 Lastly, we hung some floating shelves, switched out the mirror and decorated with our new knickknacks. It was a bathroom remodel success!
Truly, this bathroom upgrade is something anyone could do! What do you think of our latest bathroom transformation?
